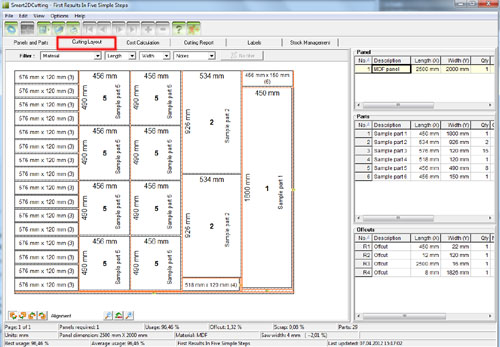
- The Cutting Layout preview pane - is situated on the left and
it displays the cutting layouts one by one. You can navigate through
the layouts using the navigation buttons.
To change the alignment of parts
on the layout use the alignment buttons  on the bottom-left area of the preview pane.
 |
To zoom in or out use the zoom buttons  on the bottom area of the preview pane. The middle button
  will reset the zoom state to the default "Zoom to fit"
value.
 |
| To filter the displayed cutting layouts based
on Material, Length, Width or Notes use the filter function located
at the top of the preview pane. |
| To configure appearance settings go to Cutting
Layout section of the Settings window. |
- The Panel Info Area - is situated on the right and it displays
information about the panels, parts and offcuts contained in the current
cutting layout.
The description field of panels, parts and offcuts can be edited. The
changes are visible on the printed cutting layout and on the labels
(only when "Label View 1" and "Cutting layout order"
is selected). The text entered on the cutting layout tab is reset when
a new job is loaded or when the optimization is executed. To keep the
changes, the cutting layout needs to be saved.
This new feature facilitates the communication between the person who
is generating the cutting layout and the workers who are cutting the
pieces.
- The Status Bar - displays information related to the current
cutting layout like current page, offcut area, saw width and multiplication
(required qty of panels for each layout).
|

